
- First Steps Checklist
-
Frequently Asked Questions

-
All About Features
- How to Install the Tracking Code
-
User Guides
-
Integrating With Other Platforms
-
Legal, Data Privacy & Certificates
- TWAIA Addendum
- White Label Analytics
- Glossary
- Contact
TWIPLA for HTML Websites
- Manual Installation
- New User Onboarding
- Existing Users
- Troubleshooting Guide
- How the Tracking Snippet Powers Your Analytics
- Customize Domain in Tracking Code
- Getting Started with Analytics
- Frequently Asked Questions about Using TWIPLA on HTML Websites (FAQ)
- Support for Installation and Using TWIPLA on HTML Websites
Manual Installation
Installing TWIPLA takes only a few minutes. Once the tracking snippet is embedded into your website's source code, you will gain immediate insight into your traffic and visitor behavior.
Please note: The design or process shown in the instructional video is for illustrative purposes only and may differ slightly from the current interface. Please follow the steps outlined below to ensure a successful setup.
New User Onboarding
If you are new to TWIPLA, follow these steps to get started:

Register
1. Go to TWIPLA and click Get started free. Enter your email address and create your account password. Tick the box to agree to the Terms of Use & Data Protection Agreement, then click Sign Up for Free to get started.
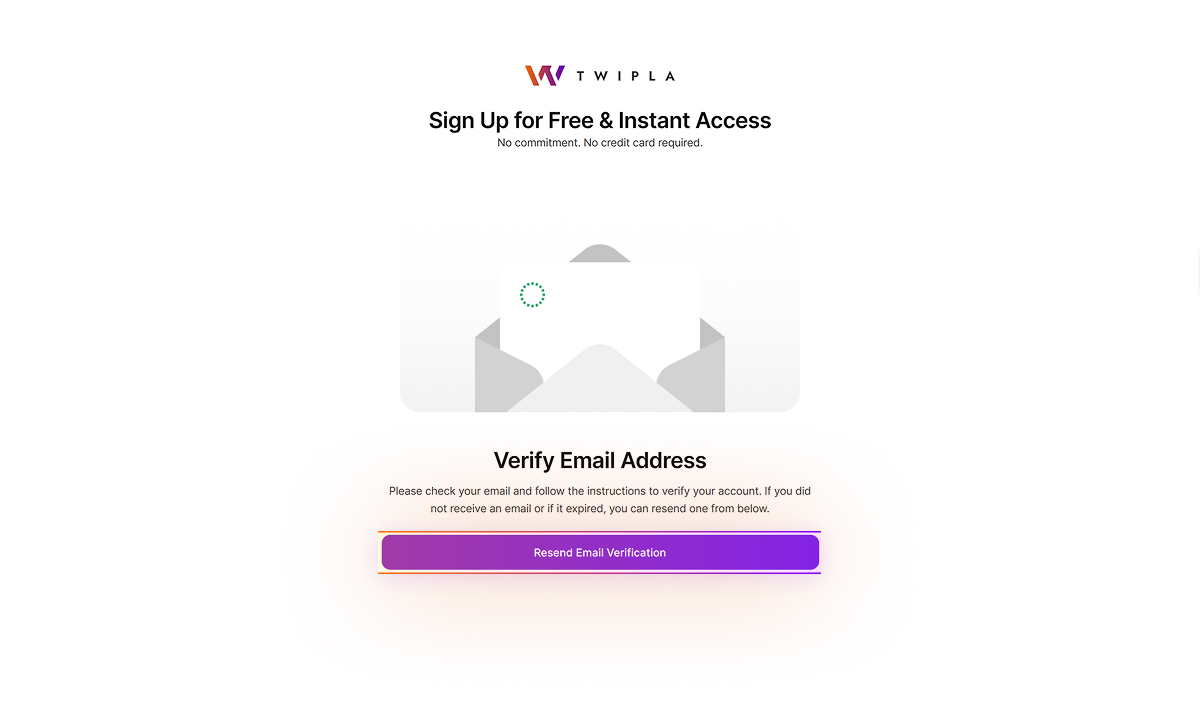
Verify Email Address
Go to your registered email account and locate the verification email. If it does not appear in your primary inbox, please check your Spam or Junk folders. If you have not received the email or if the link has expired, click Resend Email Verification to receive a fresh copy.
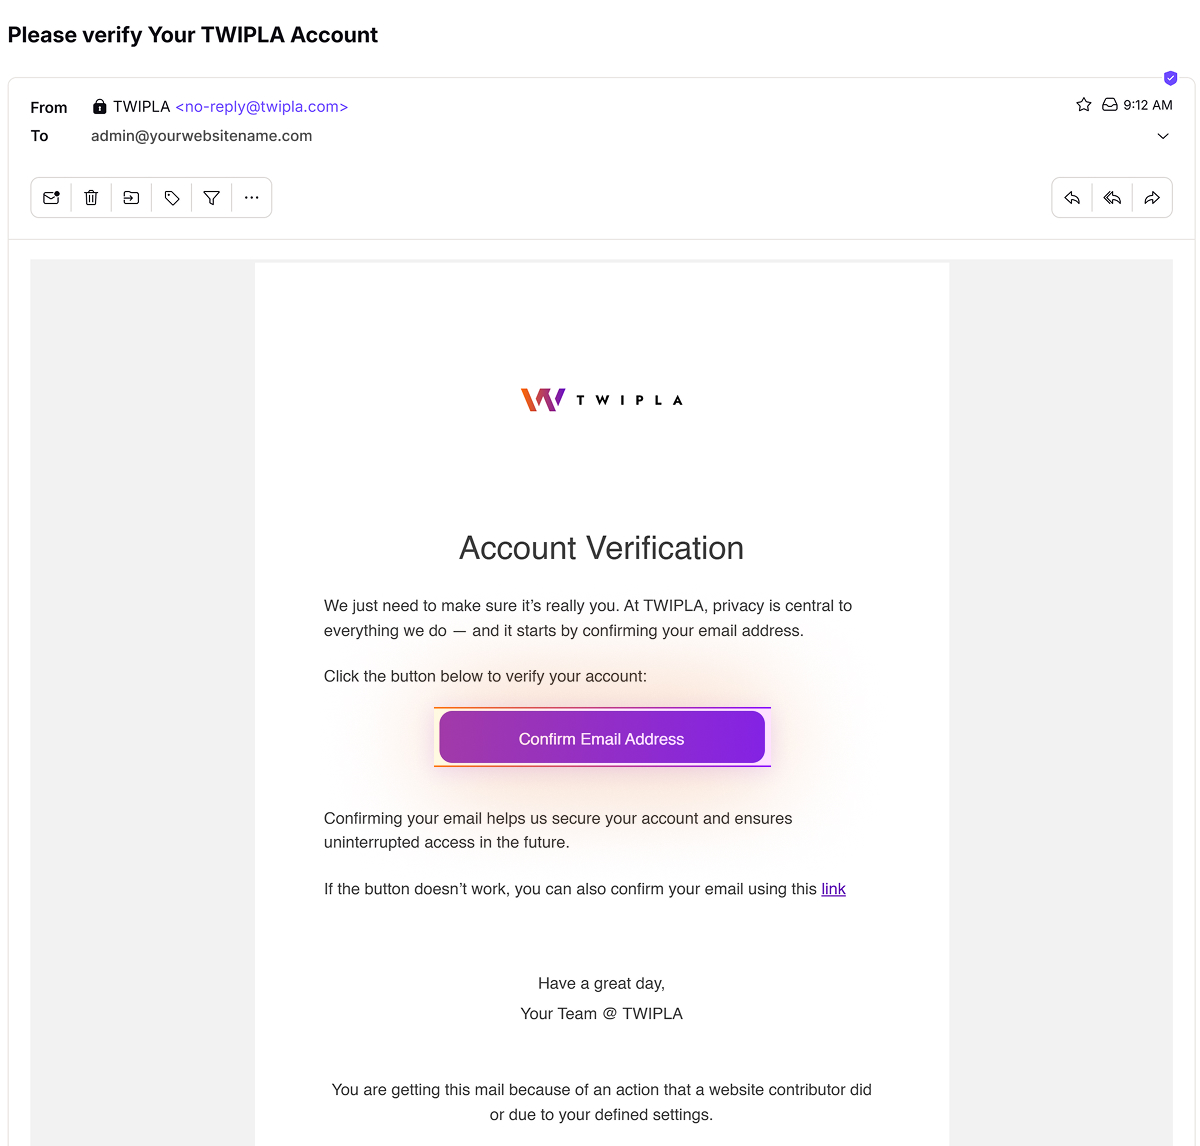
Account Verification
Open the verification email and click Confirm Email Address. If the button does not function correctly, use the alternative link instead.
Note: You must verify your account within 10 days to avoid temporary account deactivation.
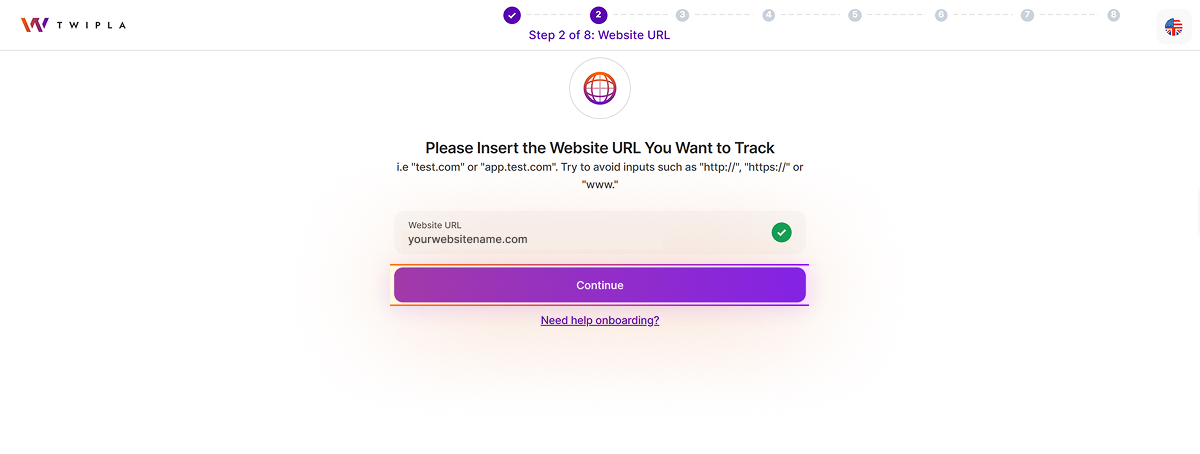
Insert Website URL
2. Once your email is confirmed, you will be automatically redirected to the TWIPLA platform. Enter the URL of the website you wish to track and click Continue. For the best accuracy, copy the URL directly from your browser's address bar, starting from www and excluding the protocol (HTTP or HTTPS).
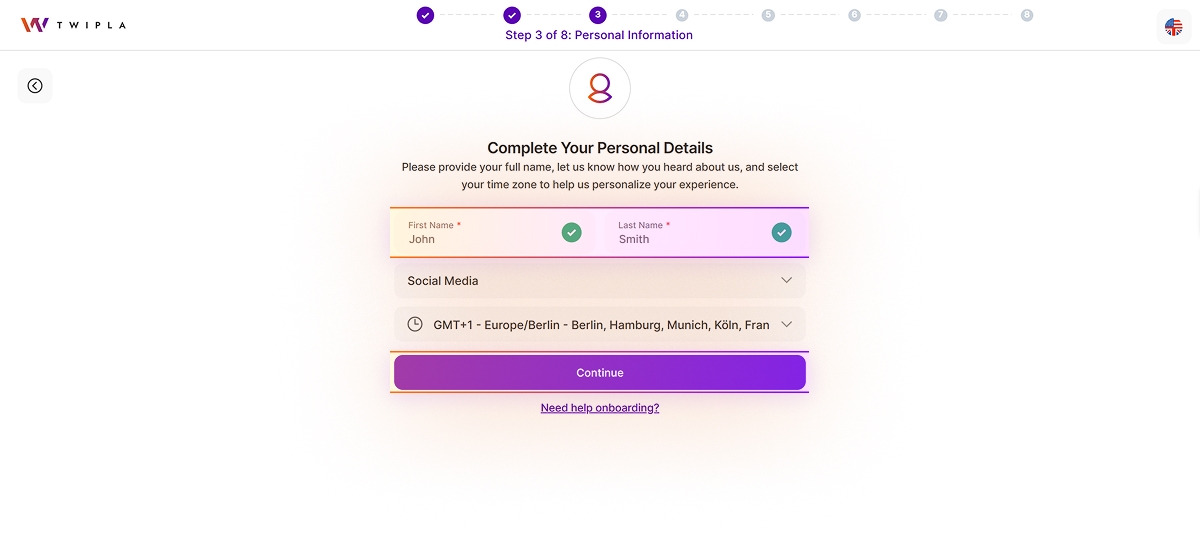
Complete Your Personal Details
3. To help us personalize your experience, please enter your full name, tell us how you heard about us, and select your local time zone.
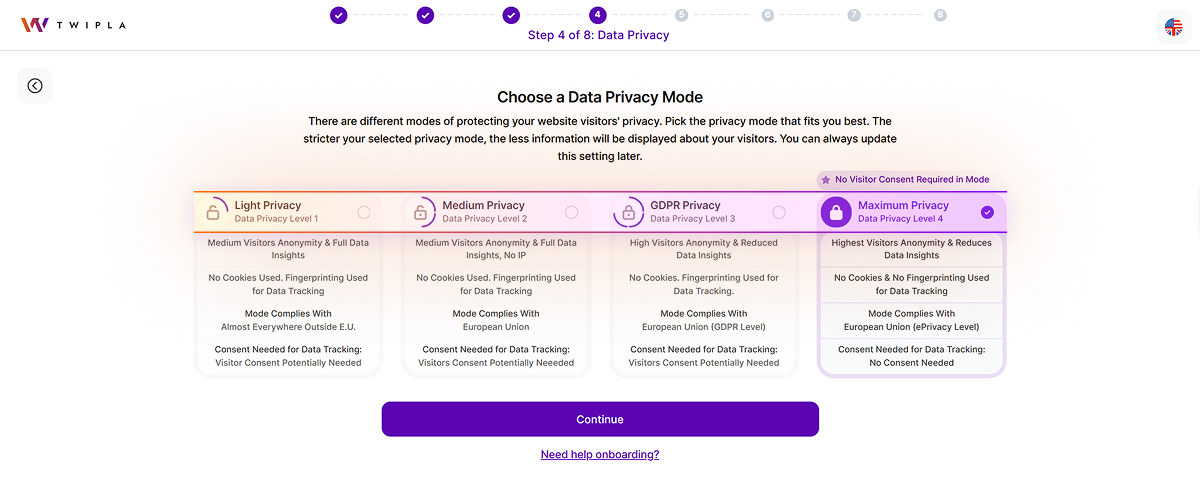
Select Your Privacy Preference
4. Choose your preferred data privacy mode for your website. While the system defaults to Maximum Privacy, you can choose any other mode from the list to suit your needs. You can update this setting at any time in your website settings. Once you have made your selection, click Continue.
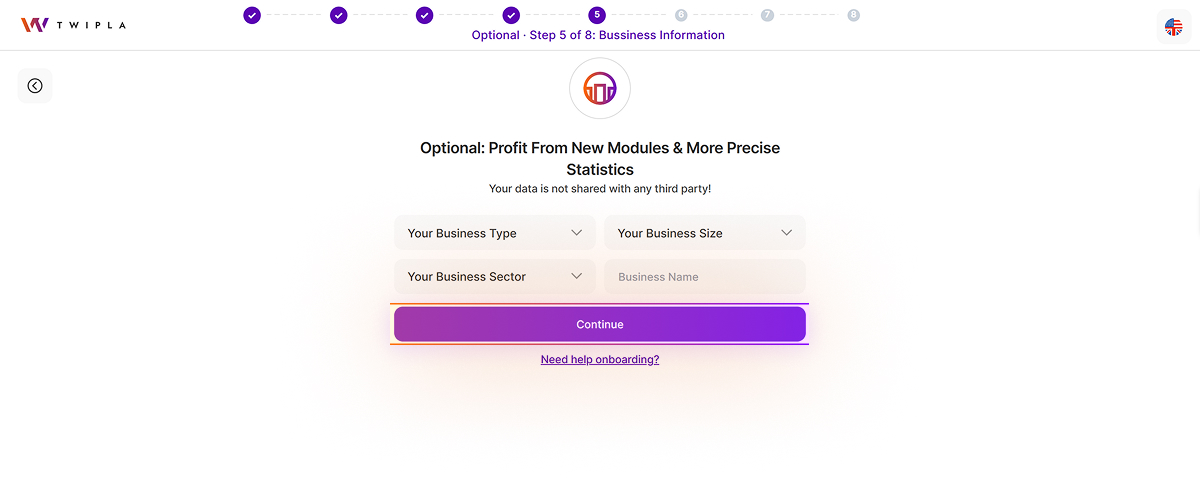
Share Your Business Information
5. This step is optional. Gain access to additional modules and deeper insights, such as competitive comparisons, by providing your business type, size, industry, and name. Your data remains strictly confidential and will never be shared with third parties.
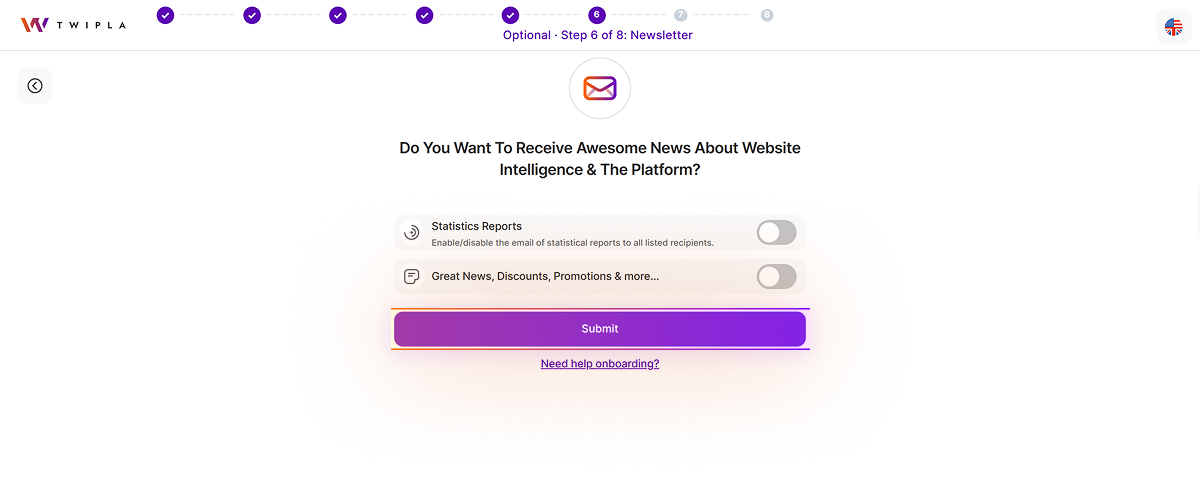
Set Notification Options
6. Set your notification preferences by choosing the types of notifications you want to receive. Enable each notification option by using the toggle button, then click Submit.
Preparing Your Tracking Code
7. Your website-specific tracking code is being prepared. Please wait a moment while the process completes.
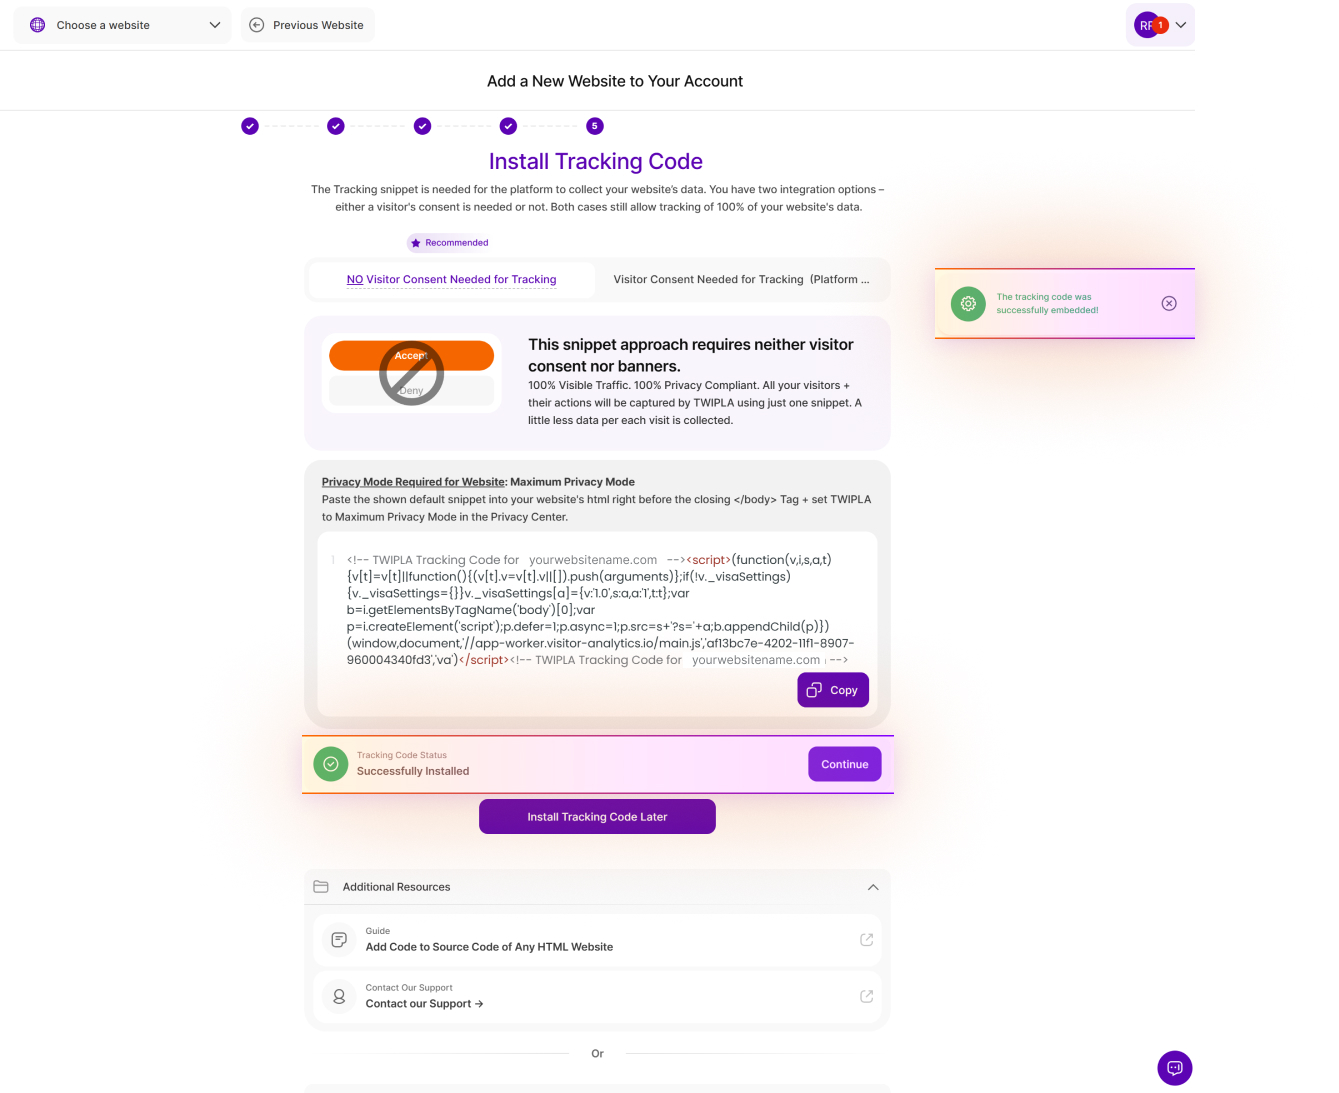
Install Tracking Code
8. To enable data collection, you’ll need to add the TWIPLA tracking snippet to your site. You can choose between a consent-free method or one that requires visitor consent. Both methods allow tracking of 100% of your website’s data. Copy the appropriate code and paste it just before the closing </body> tag in your source code. Be sure to publish the changes to complete the integration.
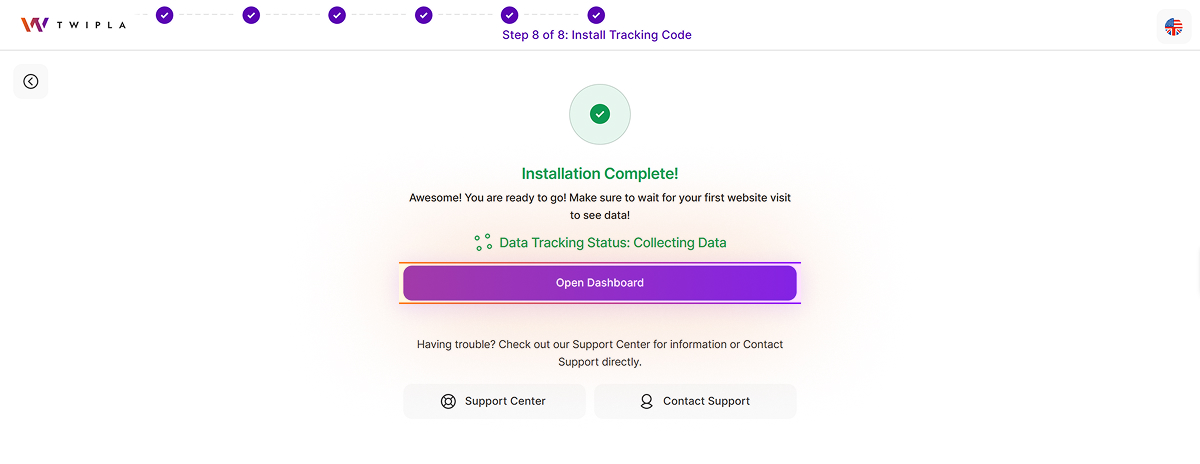
Installation Complete
Once you have added the snippet, click Verify Snippet Installation. A successful setup will trigger a confirmation message: "The tracking code was successfully embedded!"
If the system indicates the code could not be found, verify that the snippet is properly installed within the body section of your website and that the changes have been published.
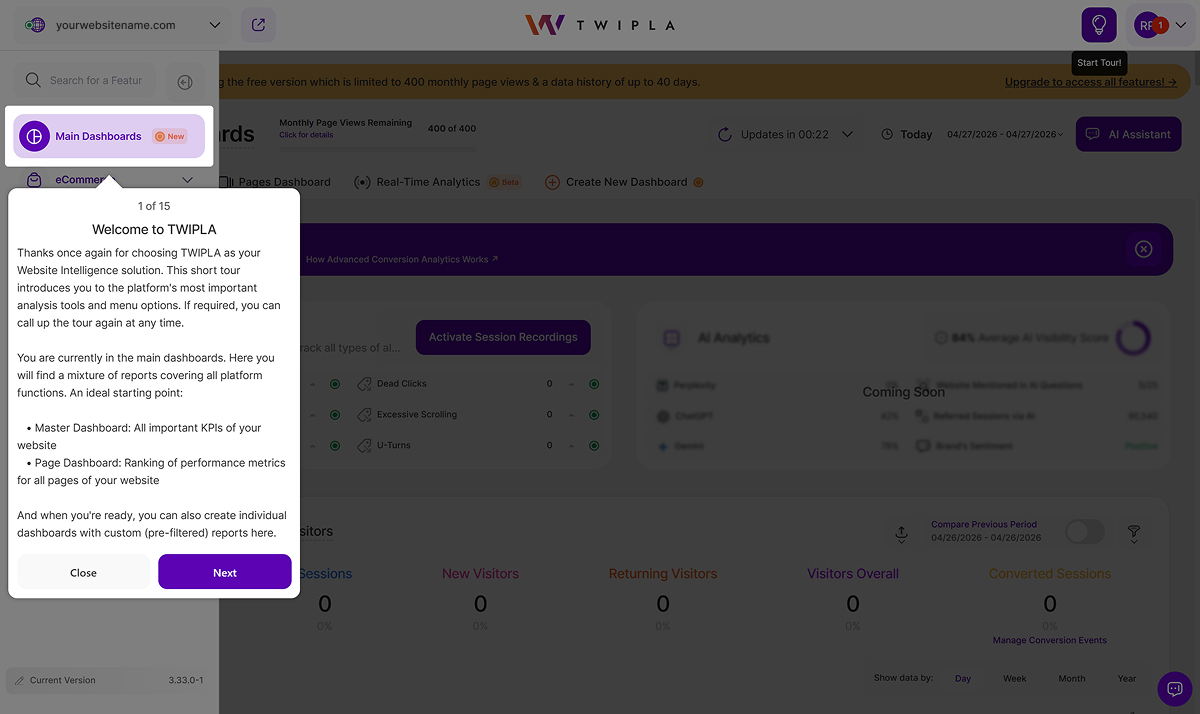
Explore Your Dashboard
Click Open Dashboard to access the Main Dashboards. To verify that data is being collected, visit your live website and then reload the dashboard to view your initial statistics.
Having trouble with onboarding? Click the Need help onboarding? link at the bottom of the steps to connect with our Support Team.
Existing Users
Sign in to your account here and open the dropdown menu in the top-left corner. Select Add new website to get started.
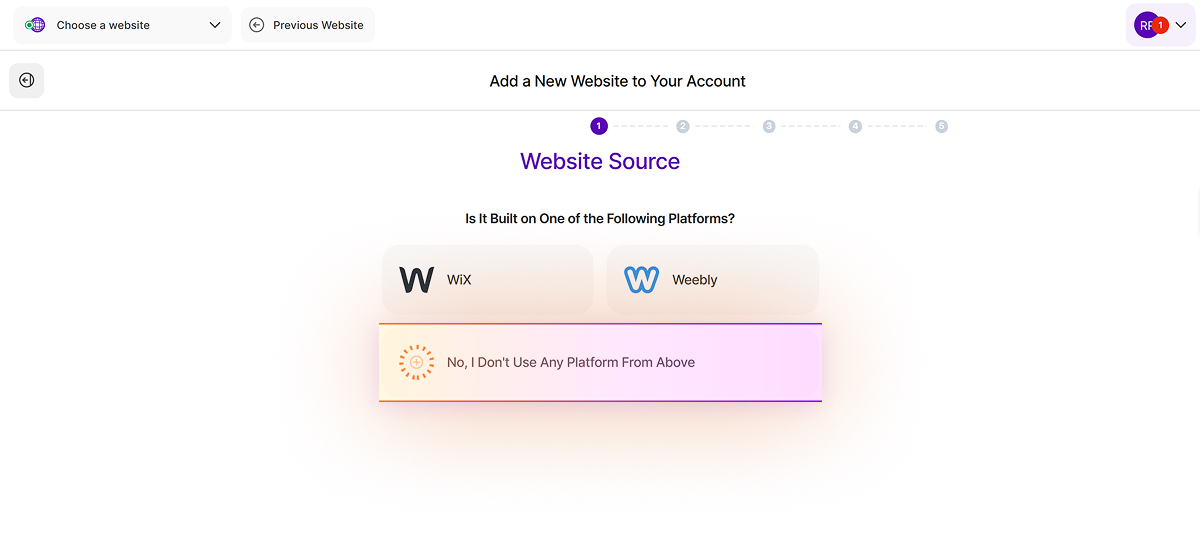
Select Your Website Source
1. Choose your website source and select the third option, No, I Don't Use Any Platform From Above, to proceed.
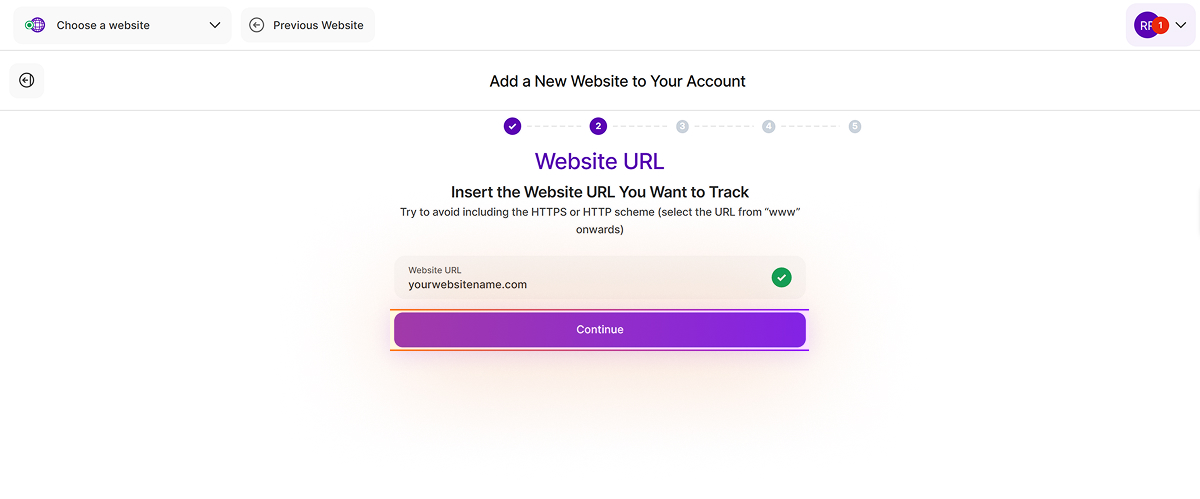
Add Your Website URL
2. Enter the URL of the website you wish to track. For the best accuracy, copy the link directly from your browser's address bar. Please start the URL from www and exclude the protocol (HTTP or HTTPS) to ensure the entry is correct.
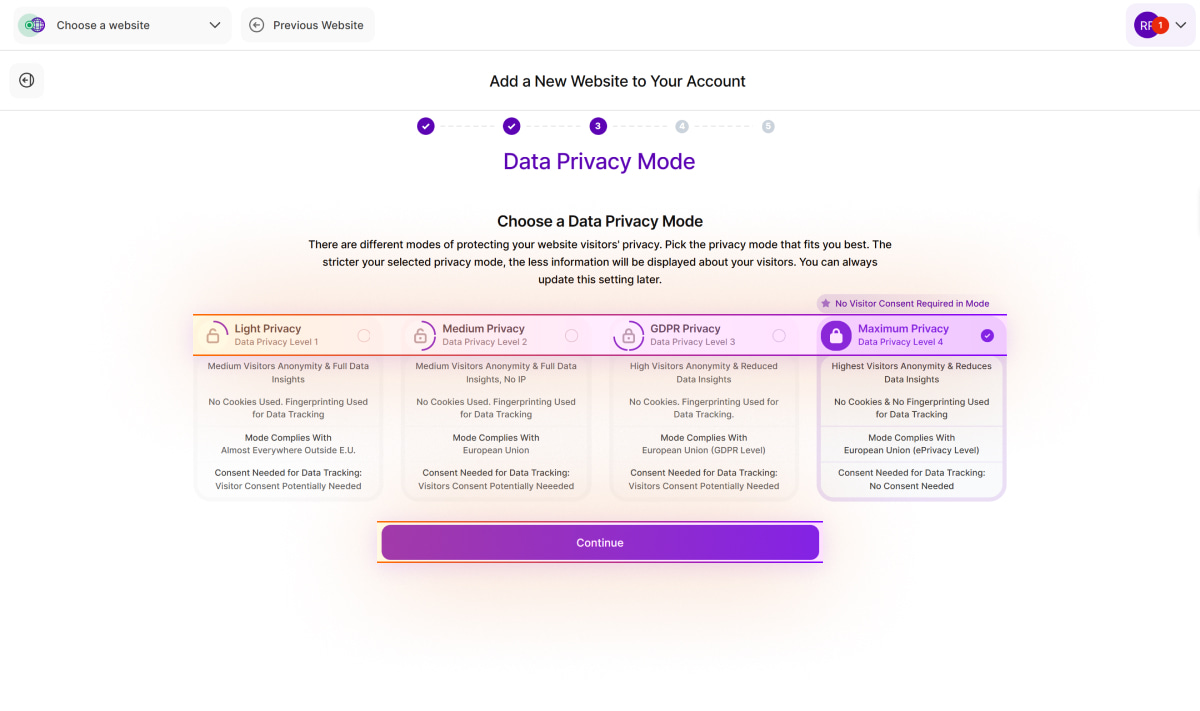
Choose a Data Privacy Mode
3. Select your preferred privacy mode for your website. While the system defaults to Maximum Privacy, you can choose any other available option to suit your needs. This setting can be modified at any time in the future. Click Continue to move forward.
Preparing Your Tracking Code
4. Your website-specific tracking code is currently being prepared. Please wait until the process is complete.
Install Tracking Code
5. TWIPLA requires a tracking snippet to collect data from your website. You have two integration options – either a visitor's consent is needed or not. Both options still allow tracking of 100% of your website's data. Paste the shown default snippet into your website's html right before the closing </body> tag and set to Maximum Privacy Mode in the Privacy Center.
Verify Installation
Once you have added the snippet, click Verify Snippet Installation. A successful setup will trigger a confirmation message: "The tracking code was successfully embedded!"
If the system indicates the code could not be found, verify that the snippet is properly installed within the body section of your website and that the changes have been published.
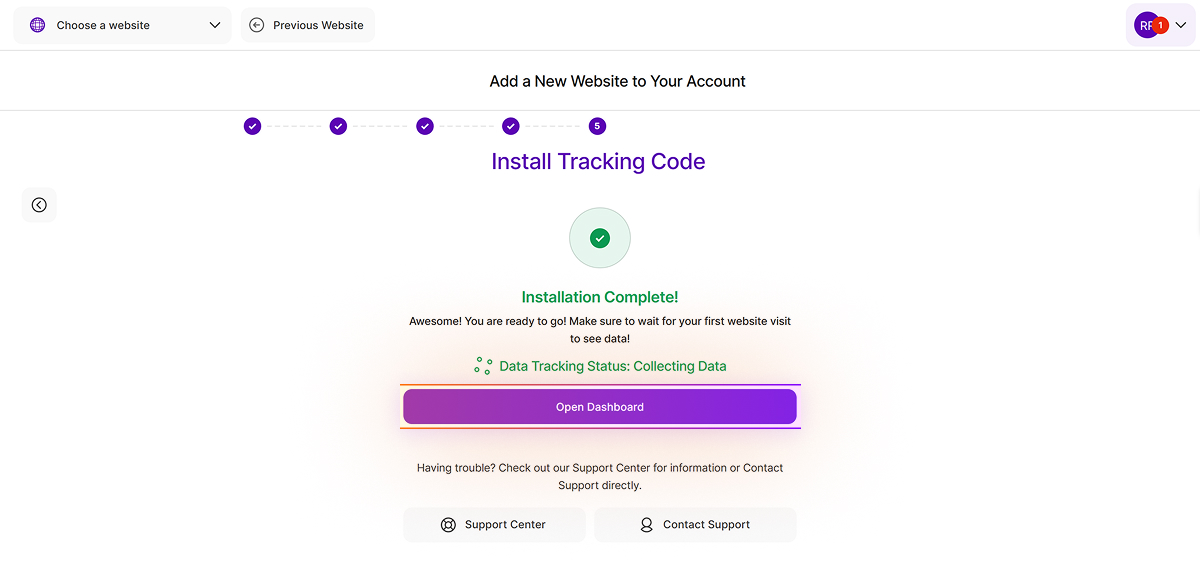
Installation Complete
You're all set! Installation is now completed. Click Open Dashboard to access the Main Dashboards. You can visit your live website to verify the collection of website visits to the platform and reload the dashboard to see your initial statistics.
Troubleshooting Guide
If your website builder only allows tracking code installation in the header and you encounter issues, it is likely because the script is executing before the Document Object Model (DOM) is fully loaded. This often triggers the error: "Uncaught TypeError: b is undefined."
To resolve this, you can keep the script in the header but wrap it in an event listener to ensure it only runs after the DOM is ready.
Here's a code snippet that accomplishes this:
<script> document.addEventListener("DOMContentLoaded", function () { (function (v, i, s, a, t) { v[t] = v[t] || function () { (v[t].v = v[t].v || []).push(arguments); }; if (!v._visaSettings) { v._visaSettings = {}; } v._visaSettings[a] = { v: '1.0', s: a, a: '1', t: t }; var b = i.getElementsByTagName('body')[0]; var p = i.createElement('script'); p.defer = 1; p.async = 1; p.src = s + '?s=' + a; b.appendChild(p); })(window, document, '//app-worker.visitor-analytics.io/main.js', 'INSERT-HERE-YOUR-WEBSITE-ID', 'va'); }); </script>
Note: Be sure to replace 'INSERT-HERE-YOUR-WEBSITE-ID' with your specific website ID.
While this modification works for header installations, placing the code at the end of the </body> tag remains the best practice for most sites to ensure a smooth integration.
How the Tracking Snippet Powers Your Analytics
The tracking code is a lightweight JavaScript snippet that enables our platform to collect and analyze your website data. This code is unique to each website added to your account and serves as the bridge between your site and your analytics dashboard.
You will receive your unique tracking code during the initial onboarding process or whenever you add a new site. While the installation process may vary depending on whether you use a standalone website or a building platform (like Wix), the core functionality remains the same.
To comply with data privacy regulations while improving data collection, we have updated our tracking code approach. You now have access to two different tracking codes that are generated for your chosen website. You can select between NO Visitor Consent Needed for Tracking and Visitor Consent Needed for Tracking (Platform NOT SET to Max Privacy Mode).
You can read more about how the tracking code works in our article: Tracking Code.
Customize Domain in Tracking Code

Standard analytics often miss significant traffic becaue they depend on cookies, user consent, and unblocked scripts. If any of these factors fail, the visit is never recorded.
TWIPLA restores this data by combining cookieless tracking with custom domain scripts. By loading the script from your own domain, you bypass third party ad blockers and capture first party data that matches your server totals. This ensures a complete and accurate picture of your real traffic.
When setting up a custom domain for your website's tracking snippet, there are 3 options available:
- Use the same domain as your website (best practice)
- Use a sub-domain of your website
- Use a completely different domain than your website (default setting provided by platform)
A more detailed overview of the options mentioned can be found in the following table:
| Same Domain as your Website (best practice) | Subdomain of Your Website / Different Domain Than Default | Default Domain for Snippet | |
| Example Domain? | www.your-website-domain.com/analytics | analytics.your-website-domain.com | visits.visitor-analytics.io |
| Impact of ad blockers used by website visitors? | The platform has full access to all visits. This approach prevents the effect of ad blockers used by website visitors, ensuring that all traffic is captured. | The platform has full access to all visits. This approach prevents the effect of ad blockers used by website visitors, so that all traffic is recorded—however, there may be exceptions in this scenario. | The platform potentially only has partial access to all visits. This approach allows ad blockers to function normally. This prevents the platform from capturing all of a website's traffic. |
| Custom domain setup required in Platform? | Yes | Yes | No |
| Setup Complexity? | Medium. Configure a proxy to forward requests via a NGINX configuration. | Low. Create CNAME DNS Entry. | None. No changes required when using the platform's default setting. |
In order to have access to all your visitors/traffic and be able to provide the best security for your website’s visitors, we recommend using the same domain in your tracking snippet as your website and configuring a proxy (via NGINX) to forward all requests as shown here.
The second best option is to use a sub-domain of your website within the tracking snippet and configure a CNAME DNS entry by following the instructions shown in the dashboard after setting up the custom domain.
Same Domain as Website
To bypass ad blockers, a proxy can be set up on the domain serving the website. This allows all data to be sent from the browser via the same domain, for example to prevent or significantly reduce the blocking of the domain by ad blockers.
To get this working, you'll need to make the following changes:
- Update your NGINX configuration to correctly forward all requests.
- Update the TWIPLA snippet to work in Proxy Mode.
Note: This approach only works technically when using our standalone solution (it is not possible with TWIPLA plugins).
NGINX Configuration
The following needs to be added to the NGINX config:
server {
[...]
#TWIPLA
location ~ ^/analytics {
proxy_pass proxy.twipla.com;
proxy_http_version 1.1;
proxy_set_header Upgrade $http_upgrade;
proxy_set_header Connection "upgrade";
proxy_read_timeout 1h;
proxy_ssl_name "proxy.twipla.com";
proxy_ssl_server_name on;
proxy_ssl_protocols TLSv1 TLSv1.1 TLSv1.2;
proxy_ssl_session_reuse on;
proxy_buffering on;
proxy_cache_revalidate on;
proxy_pass_header Set-Cookie;
proxy_set_header X-Real-IP $remote_addr;
proxy_set_header X-Forwarded-For $proxy_add_x_forwarded_for;
add_header X-Cache-Status $upstream_cache_status;
add_header X-Served-By $host;
proxy_set_header Host "proxy.twipla.com";
proxy_set_header X-Forwarded-Scheme $scheme;
proxy_set_header X-Forwarded-Proto $scheme;
proxy_set_header X-Forwarded-For $remote_addr;
proxy_set_header X-Real-IP $remote_addr;
gzip on;
gzip_vary on;
gzip_proxied any;
gzip_comp_level 6;
gzip_types text/plain text/css text/xml application/json application/javascript application/xml+rss application/atom+xml image/svg+xml;
}
}
TWIPLA Snippet Configuration (NGINX Approach)

After setting up your NGINX configuration, the next step is to update the tracking snippet on your website.
For example, your website domain is your-website-domain.com/analytics. If you're using the same domain, the entire URL within the snippet ('//app-worker.visitor-analytics.io/main.js') should be changed to ‘/analytics/main.js’.
Note: Your websiteKey should remain unchanged.
Subdomain of Your Website

If you are using a subdomain of your website or a different domain than default, the tracking URL within the snippet ('//app-worker.visitor-analytics.io/main.js') should be replaced with the domain you used.
For example, you're using the subdomain, analytics.your-website-domain.com, the URL should be changed to ‘analytics.your-website-domain.com/analytics/main.js’.
How To Configure CNAME DNS Entry

To set up a Custom Tracking Domain (via a CNAME DNS entry), follow these steps:
- Navigate to the Customize Domain in Snippet to Avoid Traffic Loss section.
- Enter the custom domain for the tracking snippet and click Save Changes. For this example, we're using the subdomain, analytics.your-website-domain.com.
- The Confirm Snippet Domain Change modal will appear with the required DNS details. To verify your newly added custom domain, you need to add the CNAME record (details below) displayed on the modal with your domain registrar or DNS provider:
- Type: CNAME
- Hostname: @
- Value: geo.hostedby.net.
- Once the DNS record is correctly configured, the platform will automatically verify the setup and prepare everything needed. This process may take anywhere from a few minutes up to 24 hours — click Verify DNS to continue.
After completion, the platform will start tracking on the custom domain.
Getting Started with Analytics
Now that your tracking code is live, it’s time to dive into your data! We’ve put together some guides below to help you get the most out of every feature:
- What Are Heatmaps? The Only Guide You Need
- What Are Session Recordings and How to Get the Most Out of Them
- What Are Conversion Funnels? A Guide for Digital Marketers
- The Complete Guide to Getting the Fundamentals of Your Website Right
- How to Use Website Surveys and Polls to Boost Your Digital Marketing Activities
Frequently Asked Questions about Using TWIPLA on HTML Websites (FAQ)
Please see our detailed Standalone App FAQs here.
Support for Installation and Using TWIPLA on HTML Websites
If you encounter any issues during installation, you can reach us through:
- Email: Send us a message at support@twipla.com.
- Chat Bubble: Use the chat bubble available on our website.
- In-App Support: Access support directly within the platform.
For additional details, please visit our Contact Us page. We are committed to ensuring a smooth and seamless experience with our plugin!